UpDraftPlus Setup
Unfortunately, the truth is: websites can (and do) go down. And rarely, do you get any warning that it’s going to happen. So the best weapon you can have in your arsenal is have a backup of your site. A full backup will allow you to restore your website to the state it was in at the time the last backup was run (see Step 4).
The following is a tutorial on how to set up automatic website backups with Updraft Plus.
Before continuing: You MUST have the plugin UpdraftPlus Backup installed and activated.
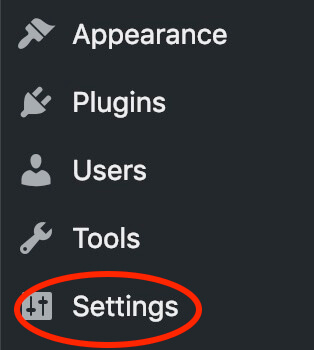
Step 1: Locate and hover over “Settings” on the Left Side bar (hint: it’s toward the bottom)
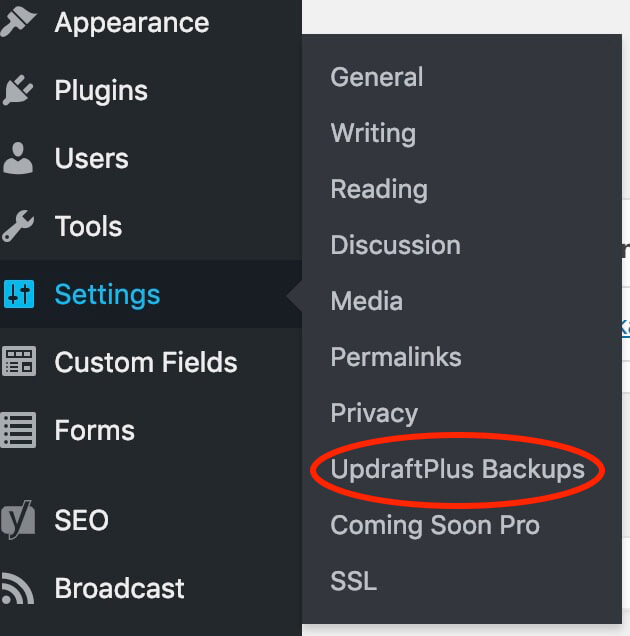
Step 2: Click on “UpdraftPlus Backups” from the pop-up menu
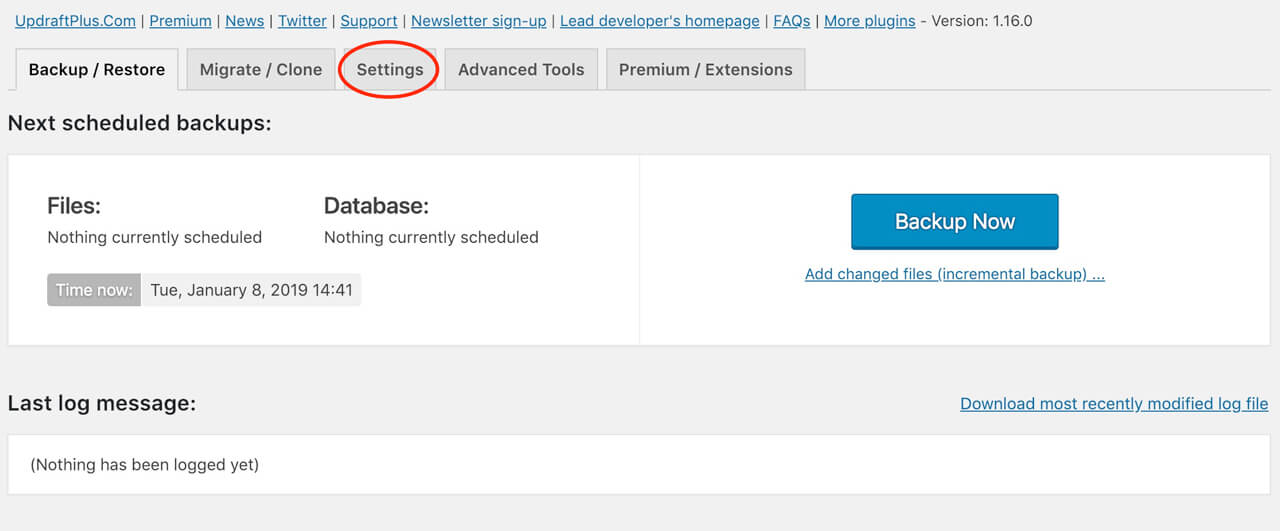
Step 3: You’re now on the UpdraftPlus Backup main page. Here, you will be able to see the next time your backup is scheduled to run as well as any currently backed up files. If this is your first time here and you see 0 backups and “nothing currently scheduled”, do not worry. That’s what we’re going to set up over the next few steps. Click on “Settings”.
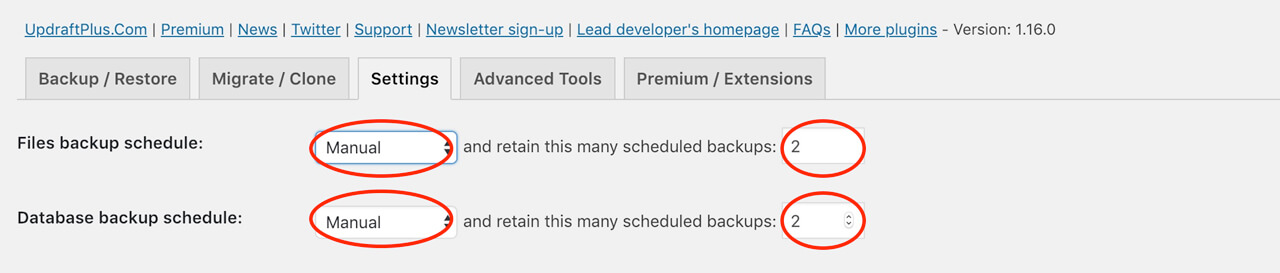
Step 4: Set the frequency of how often you would like backups to run (popular choices include Daily, Weekly, and Monthly) and how many backups you’d like to keep (at least 1 required). We recommend you base your backup schedule around how often you post. Also recommended: change “Manual” to “Automatic”.
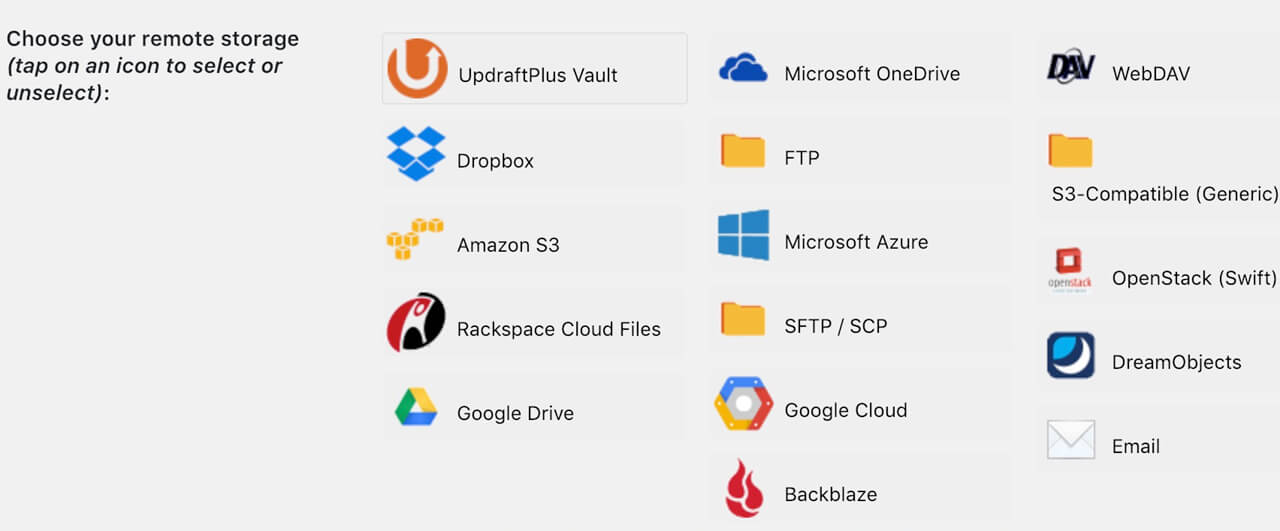
Step 5: Choose the location of where you would like the backup to be stored (we recommend using Dropbox and the following steps will use Dropbox as the setup example)
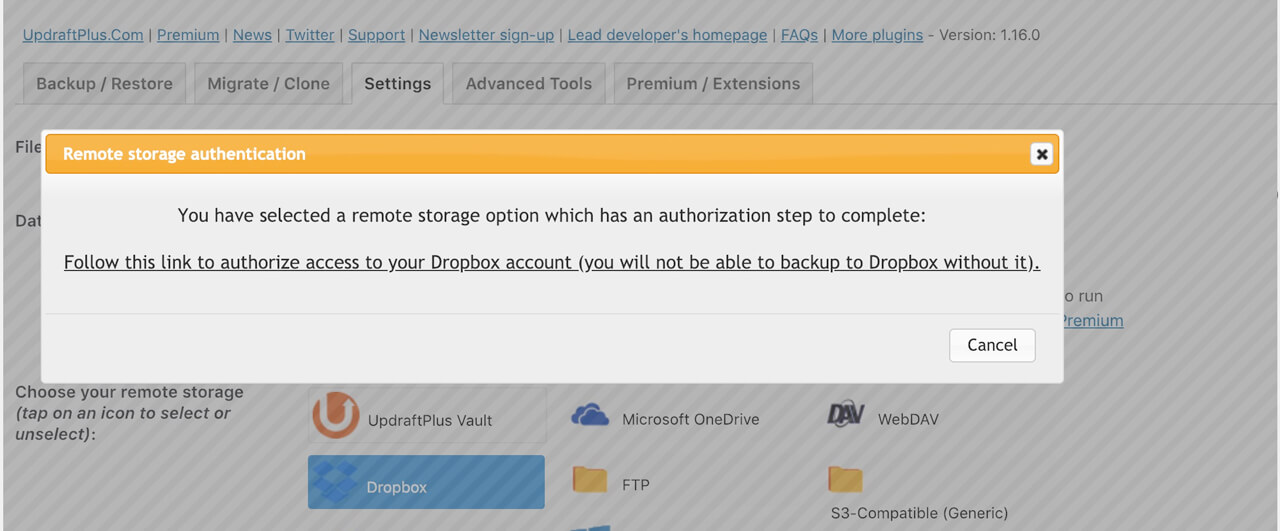
Step 6: Click “follow this link” text. You’ll need to enter your Dropbox credentials (username and password)
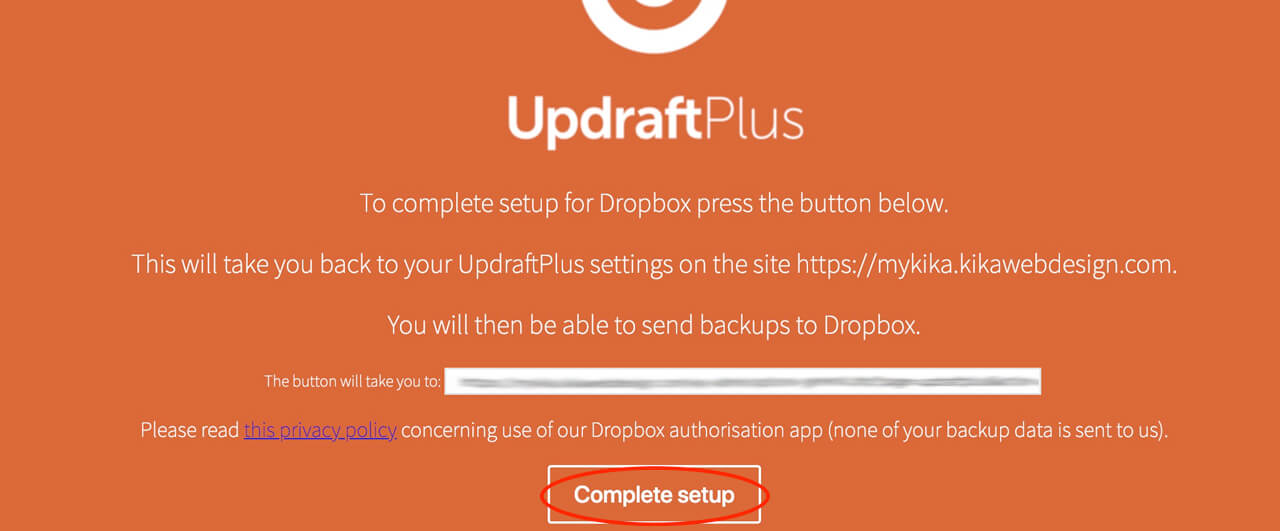
Step 7: Once completed, you’ll receive the orange “Success” screen. Click “complete setup” to be returned to your website.